


Adobe Express
Create creative content with Adobe Express – from presentations and flyers to videos and social media posts. Adobe Express also includes generative AI tools. We’ll show you how to make the most of Adobe Express’s wide range of features.
In a nutshell: What is Adobe Express?
FACTS
Link: https://www.adobe.com/express/
Login: Email address, Login with campusID
Licence: Licence at TH Köln
TECHNICAL REQUIREMENTS
– Internet connection
– Laptop
– App for smartphone or tablet
Adobe Express is a multi-functional media creation tool. It allows you to edit videos and photos, create flyers and presentations, or generate text effects and images using generative AI. You can also choose from free templates and customise them to suit your needs. Adobe Express helps you to create charts and incorporate them into your own designs, or present educational content – for example as videos. Real-time collaboration within a team is possible.
Data Protection & Accessibility
Unfortunately, Adobe Express’s data protection policy is not entirely clear. T For that reason, do not share any personal data via the service!
Range of Features
- Editing videos and images
- Creating leaflets, presentations and social media posts
- Generating text effects and images using generative AI
- Creating diagrams
- Free design templates
Uses
Step by Step
Adobe Express is included in the Adobe Creative Cloud. You can log in using your campusID. The tool is available to all staff at TH Köln.
The tool has numerous features. Here is a brief overview of some of the items you can create:
- Social media posts
- Posters
- Brochures
- Invitations
- CVs
- Presentations
- Flyers
- Business cards
- Collages
- Images and videos
1. Start a new project
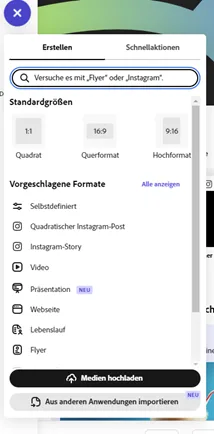
Click the Create button (the blue plus icon). You can now search for your desired project in the search bar. Then select the project. This example focuses on infographics. Adobe Express will then create a new infographic project.
2. Choose a design
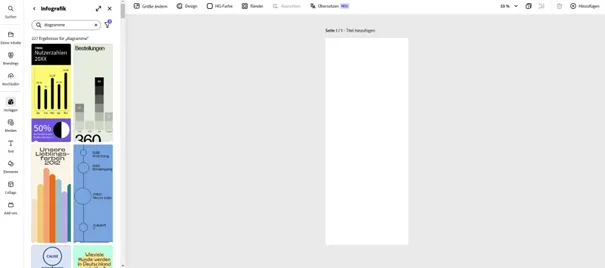
Browse through the various templates available. You can filter by theme or style. Choose a template that suits your needs and style. You can also create your own design.
3. Design your graphic
Add text by clicking on existing text boxes or adding new ones. Upload your own images or select images from the Adobe library. Add additional graphic elements, such as icons, shapes or illustrations. Use the tools in the sidebar to customise the font, colours, backgrounds and layout.
4. Save and download your graphic
Your graphic is saved automatically, but it’s always a good idea to click the save icon to ensure all changes are saved. Click Download to save the graphic as an image file (JPEG, PNG) or any another supported format.
Adobe’s AI – Adobe Firefly
Adobe Firefly in Adobe Express enables users to create and edit content such as images, videos and vector graphics using artificial intelligence. The AI can be used to speed up creative processes by offering design suggestions, generating image variations and developing interactive elements. We’ll show you how AI can create an image for you.
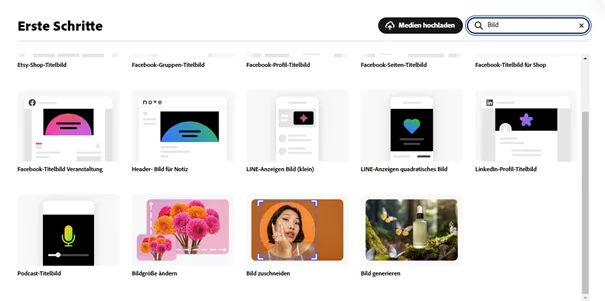
Click on the Create button (the blue plus icon). You can now search for your desired project in the search bar. Then select the project. In this example, we are going to create an image using AI, so you must select ‘Generate image’.
Enter a detailed description of the image you would like to create. Be as specific as possible in your prompt to achieve the best results.
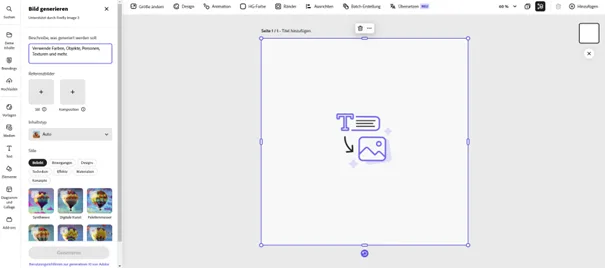
Click on ‘Generate’ to create the image based on your description. The process may take a few seconds.
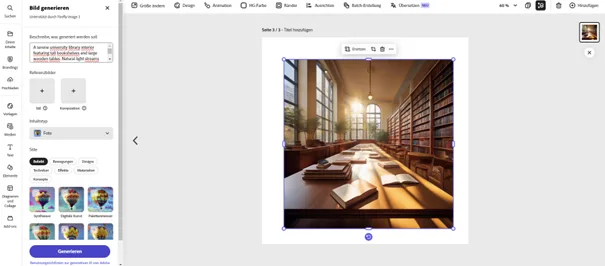
Check the generated image and make any necessary adjustments. You can add elements, change colours or apply filters to further refine the image. Note: Adobe Firefly has its limitations, particularly when it comes to realistically rendering hands and faces. In such cases, it can be helpful to upload a reference image to serve as a template for the AI, in order to achieve more accurate and satisfactory results. Please make sure you are not violating copyright laws when uploading a reference image. Only use your images you own or have the right to use.
You can find further tutorials to help you get started and develop your skills here. The Adobe Express user guide is available here. It contains step-by-step guides for the tool’s various features. For example, this step-by-step guide walks you through using templates.
Practical tips
Adobe Express can serve as an alternative to standard presentation software. The various elements can be used to design creative presentations. Adobe Express also offers a wide range of templates featuring royalty-free audio and image files. With its AI-powered features, you can quickly create charts, infographics and visualisations that make the subject matter easier to understand.
Any questions?
Feel free to contact us by mail to lehrpfade@th-koeln.de!
Links & literature
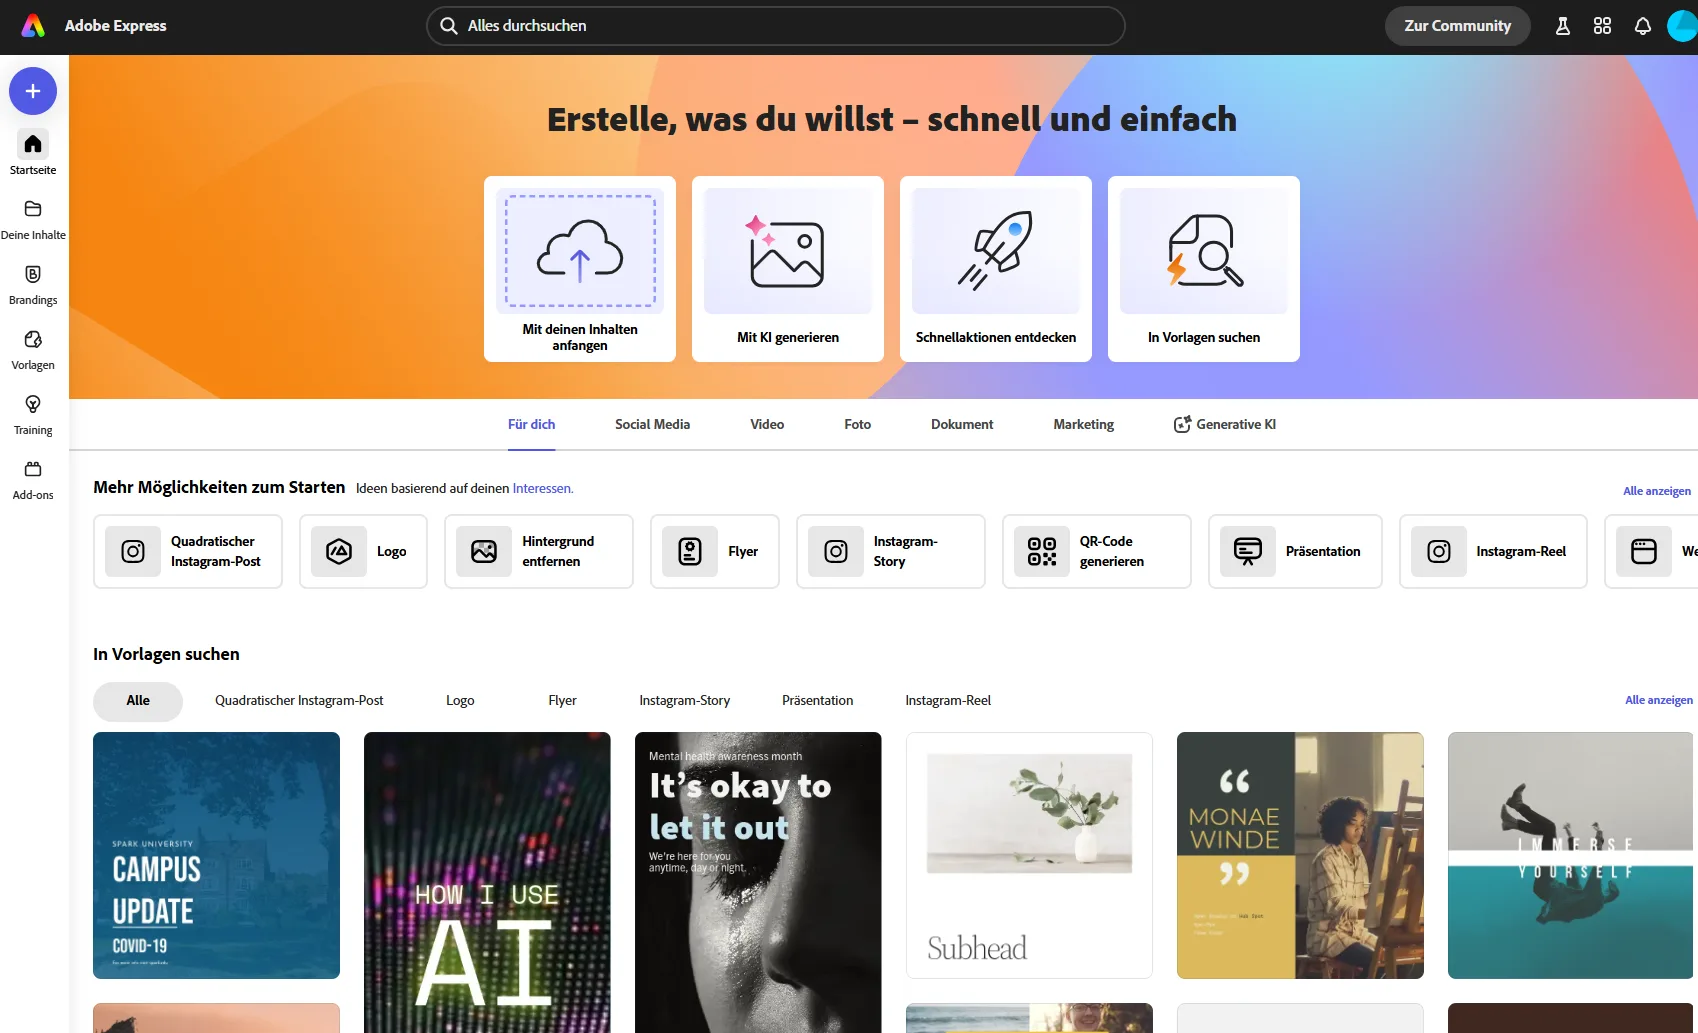
Header image: © Adobe Express, screenshot from the Zentrum für Lehrentwicklung (ZLE)